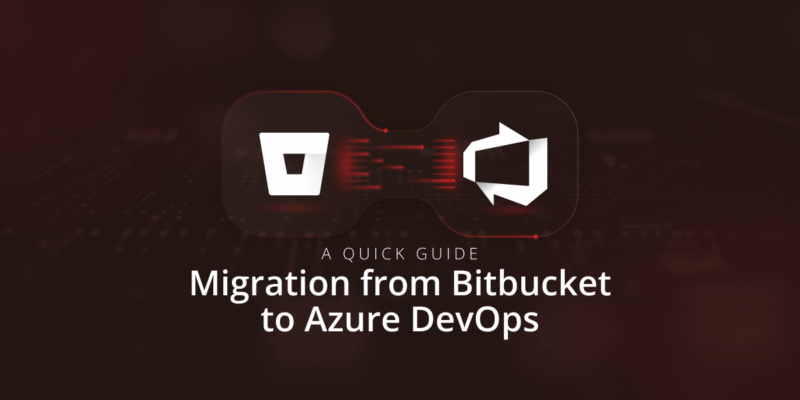
Migration From Bitbucket To Azure DevOps – A Quick Guide
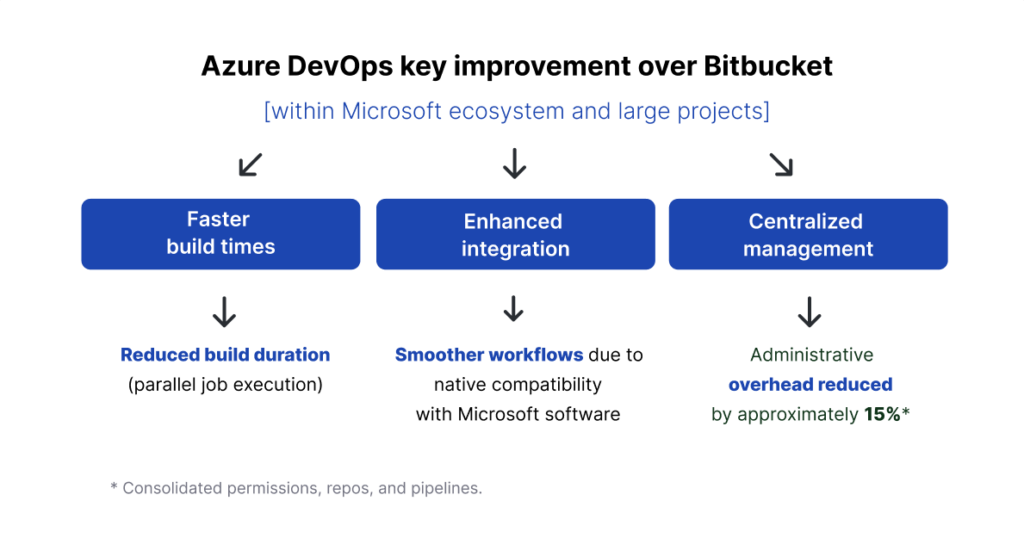
In most cases, migration from Bitbucket to Azure DevOps is driven by the need for better integration within the Microsoft ecosystem. This is especially true when scalability for larger projects and a unified development environment support modern software development practices.
Companies undergo such a migration for strategic reasons. And, like in all ventures that involve moving data between platforms, the process demands detailed planning and execution to keep data intact while improving operational workflows.
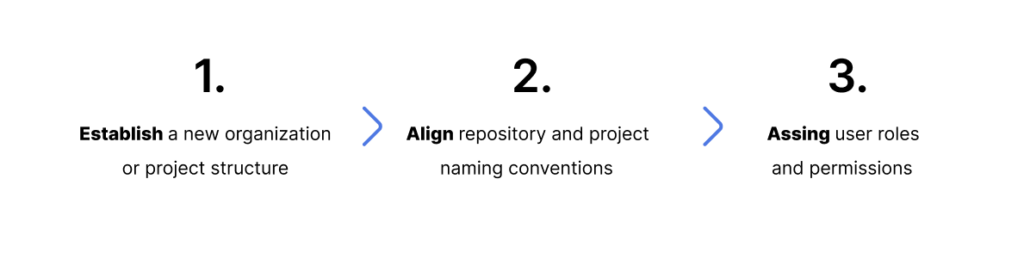
Pre-migration: What to do before moving your data
To achieve expected migration results, you should assess your current Bitbucket environment to avoid common pitfalls. Pre-migration preparations should also involve backups to safeguard against data loss.
That means the initial activities scope must include:
Repository inventory | List of all repos with categories: active, archived, or obsolete |
Map of dependencies | Identified (linked) webhooks Integrations (CI/CD systems, monitoring tools, custom scripts, and third-party tools) |
Access control reviews | Verified user roles and permissions |
Data backup | Comprehensive backups, including commit histories, branches, and metadata |
Bitbucket to Azure DevOps migration workflow
In general, you can close the migration process in 6 steps – from backing up existing data to validation
Step 1. Existing Bitbucket data backup
This step allows for saving information and mitigates the risk of its loss. The best approach is simplifying the process but keeping all necessary details. It can be done by:
- automating repository snapshots
- including pull request histories and tags
- validating backups with checksum mechanisms.
Step 2. Azure DevOps configuration
Obviously, to migrate repositories to Azure DevOps, you need to have an active account on this platform.
Step 3. Transfer your repos – from Bitbucket to the Azure DevOps platform
When you move your data, follow the clone-add-push steps for each repository.
- Clone the Bitbucket repository:
git clone https://bitbucket.org/username/repository.git- Add Azure DevOps as a remote;
git remote add azure http://dev.azure.com/organization/project- Push the repository to Azure DevOps:
git push azure --all
git push azure --tags
Next, verify that all commits and tags are transferred accurately.
Step 4. Migrate CI/CD pipelines
Azure Pipelines use a different syntax from their Bitbucket counterparts. You can recreate pipelines manually or adapt configuration scripts. Then, validate functionality using Azure’s YAML editor.
Step 5. Move pull requests
Use API scripts or manual recreation to transfer active pull requests, preserving:
- comments
- reviewers
- statuses.
Focus on critical or ongoing pull requests.
Step 6. Validate the migration process
During the post-migration phase, ensure to confirm:
- repository structure and commit history match the original
- CI/CD pipelines are operational
- user permissions are correctly configured.
Post-migration. What can you enhance
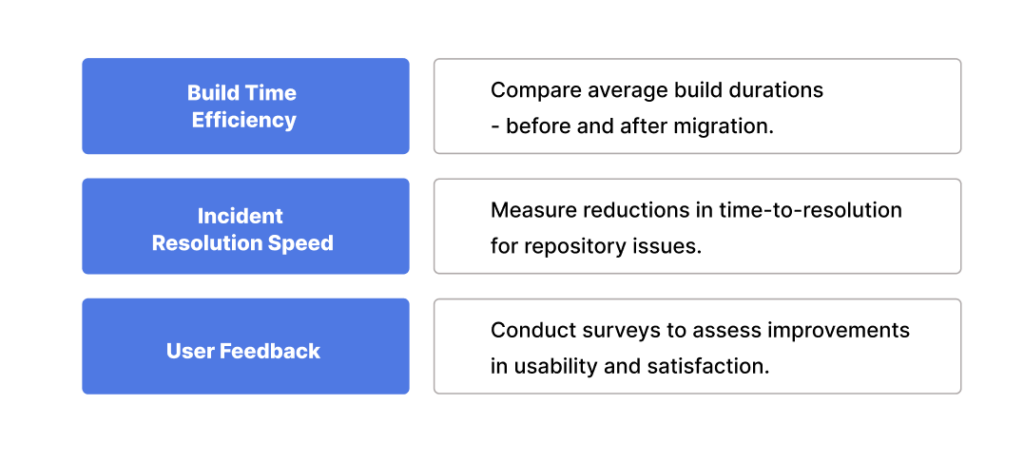
Optimizing the effect after you finish migrating Bitbucket repos to Azure DevOps is a good practice.
Both migration and post-migration enhancements you can evaluate by checking a set of measurements, including:
Cross-recovery for a faster and more secure migration process
Cross-recovery is a powerful and efficient capability within the GitProtect.io wide range of backup utilities. GitProtect is developed as an every-scenario-ready Backup and Disaster Recovery tool for 360 cyber resilience. The solution allows restoring GitHub, GitLab, and Bitbucket data to Azure DevOps organization.
The solution provides a cross-recovery (cross-over) option, reducing the process of migrating repos from Bitbucket to Azure DevOps to 3 simple actions.
Having both Bitbucket and Azure DevOps organizations added and authorized in the application, you can:
Action 1. Choose your Bitbucket backup:
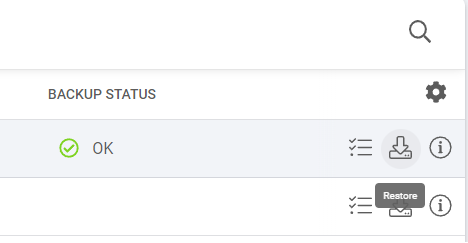
Action 2. Click the Restore button (right side of the screen):

Action 3. Select Azure DevOps destination by clicking on the Restore to button.
That’s all you need to do. The migrated project is now in your Git hosting service and the GitProtect window.

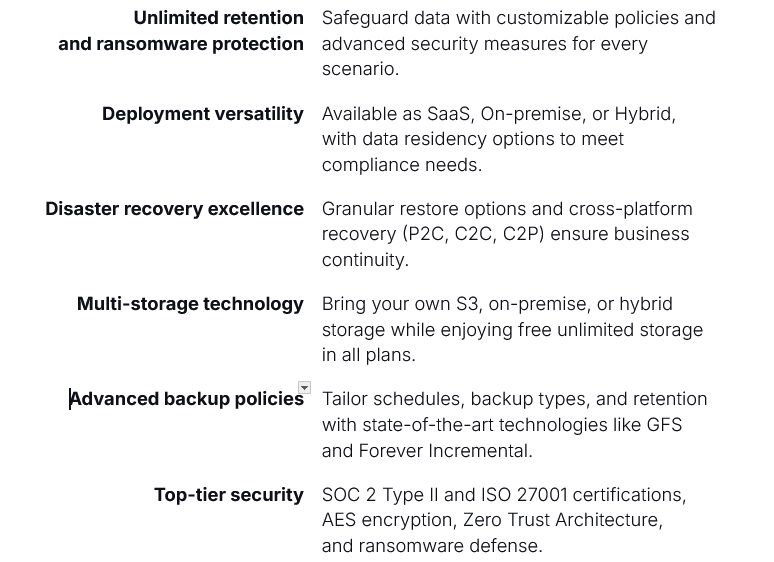
Why work with GitProtect.io
GitProtect provides unmatched disaster recovery readiness, including granular restore capabilities and extensive restore destinations. It’s the only vendor that combines flexible deployments, policy-driven backups, and enterprise-grade security, making it the ultimate choice for protecting your DevOps tools.
GitProtect key capabilities (features):
To sum it up
Transitioning from Bitbucket to Azure DevOps can deliver measurable gains in performance and collaboration. By methodically addressing each step – from preparation to post-migration optimization – you can make your repositories a part of an ecosystem with:
- better integration with Microsoft solutions – including Azure Cloud
- enhanced scalability – Azure repos up to 250 GB in size
- improved collaboration tools
- flexible customization options
- boosted performance with large files – Azure DevOps supports Git Large File Storage (LFS)
- unified development environment (tools consolidation within a single platform).
By utilizing tools like GitProtect, IT teams can streamline cloud and on-premises migrations while improving overall operational efficiency. The tool automates backups and helps adhere to the 3-2-1 backup rule, a crucial best practice for ensuring data security and recoverability.
[FREE TRIAL] Ensure compliant DevOps backup and recovery with a 14-day trial 🚀
[CUSTOM DEMO] Let’s talk about how backup & DR software for DevOps can help you mitigate the risks