
Can Git Restore a Deleted File?
Git, as a version control system, is very popular nowadays. Developers often make mistakes or encounter errors, such as accidentally deleting files. It is convenient not just because you can do many different operations with it, including such git commands as git revert, git push, git reset, git rebase, or many more. But it can also permit you to restore deleted files. Developers can recover from these mistakes using Git’s tools.
Fortunately, for us, Git really has the right tools to do so. Git’s recovery features are especially useful when files are accidentally deleted. Thus, we are going to discuss one of the ways that will allow us to recover deleted files, named the GIT RESTORE function.
Behold – git restore
The RESTORE function was added to git version 2.23 (August 2019), so it is a relatively new thing. However, it is becoming an increasingly popular option, despite the fact that the official documentation still says:
“THIS COMMAND IS EXPERIMENTAL. THE BEHAVIOR MAY CHANGE. ”.
Restoring files is a common task for developers, especially when working with Git repositories. The git restore command is specifically designed to help with restoring files that have been deleted or modified.
Experimental git commands for stable use
Anyway, it is a nice tool. It allows developers to unstage changes from the Staging Area or to discard local changes in the working directory or working tree. The git restore command only works for tracked files, meaning files that have already been added to version control, and does not affect untracked files.
When we run the GIT STATUS command, the GIT RESTORE operation will be the suggested method to undo changes, and it actually replaces the RESET command. Some developers prefer using command-line tools like git restore for restoring files. Here you can read more about other ways to restore or remove files in git.
Although still labeled as “EXPERIMENTAL” in official documentation, the git restore command is considered stable and safe for use. There have been no significant changes in behavior or effectiveness since its introduction. The experimental tag is primarily used for backward compatibility warnings.
Restore deleted files in git
However, we will focus today not on cleaning up the Staging Area, but on restoring already deleted files. Let’s consider two cases here:
- restore locally deleted file,
- restore a file removed from the external git repository.
As we know from the aforementioned article, changing the git history is a dangerous action. So the first case is easier because we can manipulate local history and local commits (those that have not yet been synchronized with the external repository).
In the second case, however, we need to be more careful and take care of the correct commit history before we push our code. Fortunately, using GIT RESTORE allows us to recover files without changing the history.

As an alternative to git restore, you can still utilize git checkout — <file> to recover deleted files (locally). However, this usage of (git) checkout is being phased out in favor of more semantically clear commands.
Specific commit for lost files checkout
Regardless of which of the above situations we have, if we want to restore removed file, we first need to find out in which commit the file was deleted. To do this, you can use git log — [path/to/specific/file] to search all the commits for a specific file by its path and identify the last commit where the file existed.
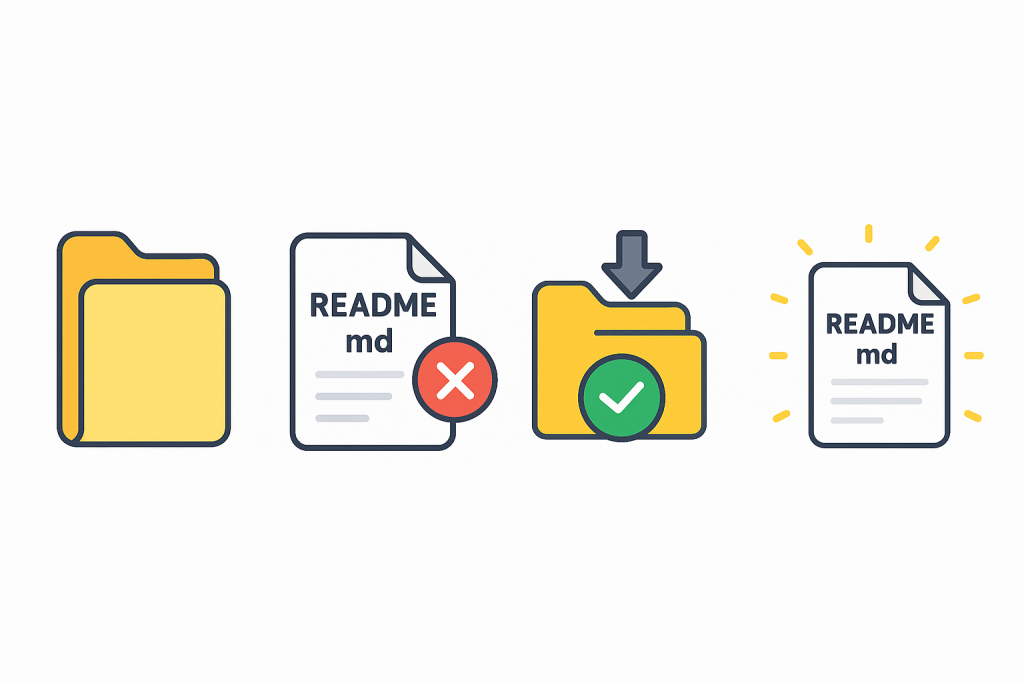
This helps you pinpoint the last commit before deletion, which is especially important when recovering important files like a txt file (e.g., file1.txt) that was accidentally deleted. We will use the REV-LIST operation for this as well. Let’s assume that we deleted the README.md file and now we want to get this deleted file back.
Command: git rev-list HEAD — README.md will show us all the commits that contain the deleted file, allowing you to search the commit history for the specific file and identify the last commit where it existed.

Deleted file(s) and file content restoration
Probably the first commit on the list (the newest one) is the one where our file was deleted, so we should be more interested in the next one, in this case, the 6b2f73. You can use git show 6b2f73 to review the specified commit and see the changes made, ensuring you are restoring the correct version of the file.
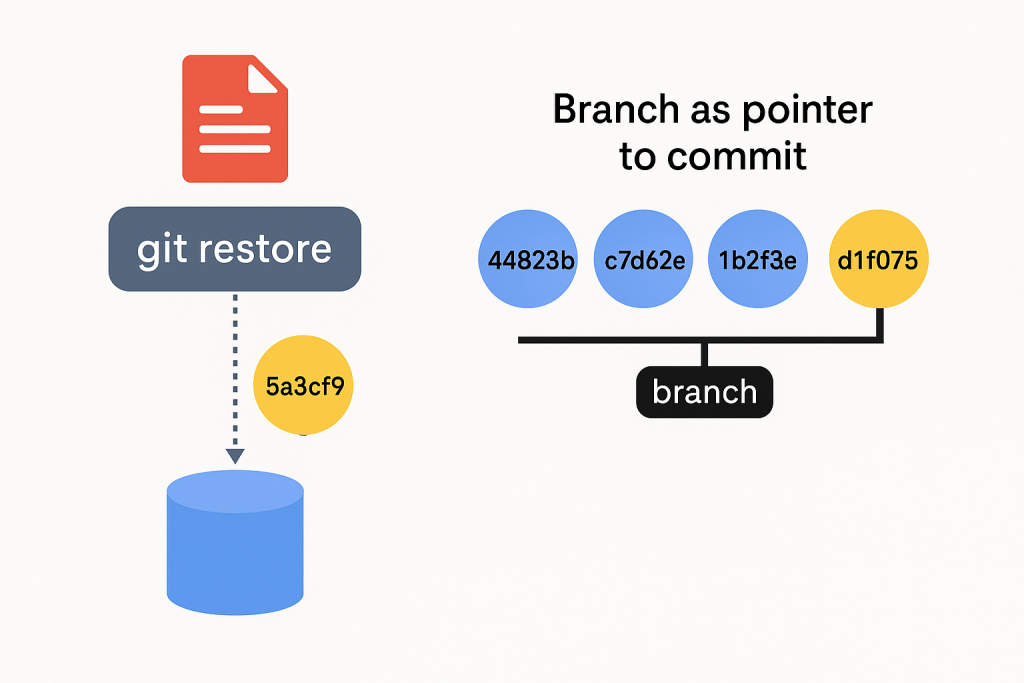
Once you know the hash of the particular commit that contained the deleted file, just run the following command to restore the file from the last commit where it existed, using the –source flag, hash, and filename:
git restore –source 6b2f73 README.md
As a result, the restored file will appear and be marked as Untracked, but this is not a problem for us. You should add the restored file and commit it with a descriptive message explaining the recovery, such as “Restore README.md after accidental deletion.”
This ensures the restored file is properly committed to the repository history. After restoring, you create a new commit to save the changes, making sure your recovery is documented.

Checkout – if the file was deleted
You could use the git CHECKOUT operation here to switch to a specific commit and manually recover the deleted file you are interested in from there, but that doesn’t sound the best or the smartest. In addition, by using the git CHECKOUT, we risk modifying our history.
Using the GIT RESTORE operation allows us to keep the history and only make a new change that restores our file. This process helps save time and effort when recovering created or committed files, especially important files that are critical to your project.
Restore deleted branches
We already know how to restore individual files. But what if we delete a branch? Is it possible to recover the entire branch? Of course, it is, and I’ll show you how to do it in a moment. The only difficulty is the need to obtain the appropriate SHA of the commit on the branch. Usually, it will be relatively easy, but I can imagine a complicated situation and a branch deleted long ago, which will be difficult to dig into.
Some tools, like GitHub Desktop, can help manage repositories and restore branches without using the command line. Keep in mind that restoring branches or repositories may require the appropriate permissions. Additionally, some backup solutions can automatically restore deleted branches or repositories.
Git checkout use
Anyway, we can use the familiar REV-LIST operation to find the SHA of the entire commit that contains the file, or we can use the REFLOG tool, which I think is a better idea. Having the appropriate SHA code, we use the git CHECKOUT command, and specifically build the following git checkout command:
git checkout -b BRANCH SHA, where BRANCH is the name of the deleted branch, and SHA is the commit hash that the branch pointed to.
Alternatively, you can use git switch -c BRANCH SHA instead of git checkout -b BRANCH SHA. This newer command separates concerns and makes the intention clearer.
Orphaned commits
Let’s consider how it is possible to recover data in git at all, since we have deleted them. The GIT RESTORE operation should not raise any doubts – git has a linear history. Once a given file existed in the local repository, so despite its removal, the file still exists, saved in some previous commit. We just recover its contents. When you commit changes, Git creates objects for files (blobs) and for the repository state (tree objects and commits), which are stored in the repository.
But what happens when we delete a branch? What is a branch at all? By itself it does not store any information, commits do record it. Branch is just a pointer to the commit, and the only information it contains is the SHA code of the commit it points to. This is why branches in GIT run very fast and are very “light”.
Last commit consequences
But it also has consequences. When we delete a branch, i.e., an indicator, we don’t delete the commit it was pointing to. So, in theory, this previous commit and changes from a given branch are still in our repository. It is then called “orphaned commits”. They exist, but there is nothing to point to them. They are alone, unrelated to anything, and in fact invisible. When we delete a branch, we will not see these commits either using the LOG function or from the browser level, when we open our git repository on GitHub or Bitbucket.
Note: Orphaned commits may still be recoverable if their SHA is known.
The only way to recover or view them is to know their SHA codes. Now let’s look at it from a security perspective. We’ve deleted some branches with critical data, and we think we’re safe. Well, not really. These files could still be recovered by a criminal or hacker.
Garbage Collector
In the IT world, you can come across something called the Garbage Collector. It is a mechanism that cleans up, for example, unused objects or files. Such a mechanism exists, among others in Java Virtual Machine, but also exists in git, which many people don’t even realize.
By default, “unnecessary” data is stored in git for 90 days, after which the Garbage Collector will get rid of them, but only if nothing indicates a given commit.
It may happen that we have reflog entries, or some other branch points to our commit, etc. Only completely “useless” items will be removed. GC further optimizes certain things and allows for less memory usage.
You can also change the default expiration period using git config –global gc.pruneExpire “30 days” or force garbage collection immediately with git gc –prune=now. But use this carefully. Deleted objects may be permanently lost.
When there is a specified file deleted
If you accidentally delete the wrong file, Git’s garbage collector may still allow you to recover it within the retention period, so acting quickly is important. Mastering Git’s garbage collection features is crucial for advanced users who want to maximize data safety and recovery options.
Having knowledge of data recovery, deletion (previous article), and GC, we see both great opportunities and great risks here. We must always bear in mind the possibility of doing what we do not want and the possibility of harmful actions by criminals. We should always be prepared for this and make regular backups.
A condition of cooperation
In the case of introducing critical data to the git repository and then deleting it, we should also make sure that the GC cooperates with us. Appropriate configuration and the ability to manually start the GC allow us to maximize the security of our data, but it will never give us 100% certainty. A suitable backup tool can prove to be an indispensable ally in restoring removed files or data.
Git backup – the most reliable way to restore lost data
And what if all the above scenarios don’t work? A professional git backup solution can be your best chance to successfully restore lost files and data. While looking for the right solution, keep in mind that during the software development process, your team uses over a dozen specialized tools. Hence, choose a backup solution that covers the DevOps ecosystem and not just a specific platform.
GitProtect DevOps backup allows you to secure git service providers like GitHub, Azure DevOps, Bitbucket, GitLab, as well as Jira for secure project management. And it’s the only product on the market that is equipped with true Disaster Recovery. That one feature can be your best choice while dealing with minor or major problems & outages.
And to learn more about other methods at your disposal, check other blog posts:
Git – How to Revert a File to the Previous Commit?
Git HEAD – Git HEAD reset and Git HEAD overwrite – what to do?
3 Best Methods to Back Up and Restore Repositories and Metadata in Bitbucket Cloud
The article was originally published on June 7th, 2021